A lot of people think building a retaining wall is just about stacking up some blocks. It's so much more than that. The real work is in the careful planning, digging a foundation that will actually last, and figuring out how to manage water—because water is the enemy of every retaining wall. The whole process really boils down to checking your local codes, digging a proper trench, laying a solid gravel base, stacking your blocks correctly, and backfilling for drainage.
Planning Your Retaining Wall for Success
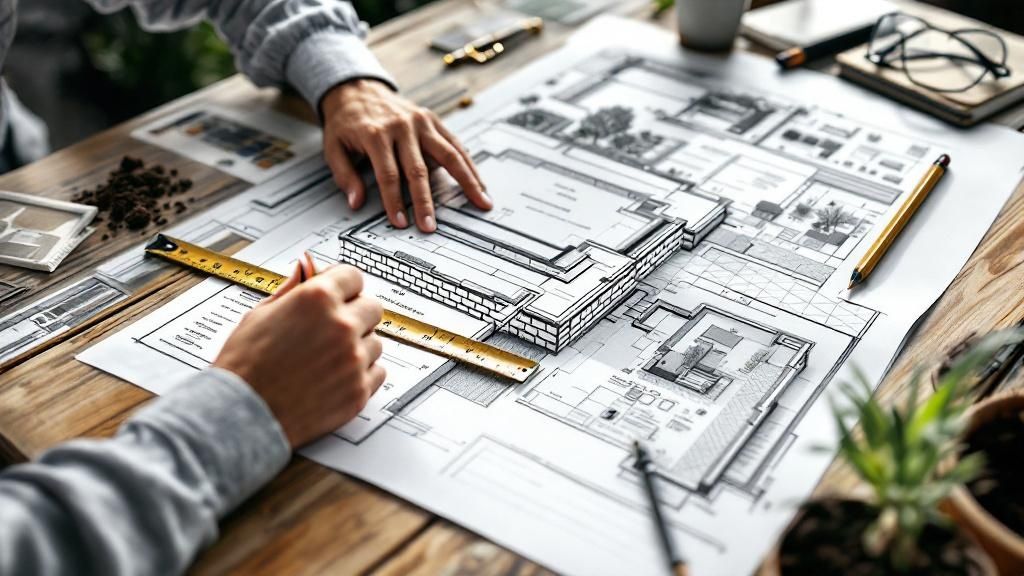
I've seen it a hundred times: a successful retaining wall project is 90% planning and 10% construction. Rushing the prep work is the quickest way to end up with a bulging, leaning, or completely failed wall. And trust me, fixing that costs way more than building it right the first time. Before you even think about picking up a shovel, you need a solid roadmap.
This isn't just about preventing a future headache. It’s about building something that adds real value and function to your property for years, maybe even decades. The choices you make right now will directly determine how strong and long-lasting your wall will be.
Check Local Codes and Property Lines
First things first, you need to do a little detective work. Your very first call should be to your local municipal building department to ask about the rules for retaining walls. Most places, especially here in California, will require you to get a building permit and an engineer's sign-off for any wall over four feet high. Some areas are even stricter, with the limit as low as three feet.
A quick phone call to city hall can save you from a "stop work" order and some pretty hefty fines. Never, ever assume your project is too small to need a permit.
Just as critical is knowing exactly where your property lines are. Building even a few inches onto your neighbor’s land can spiral into a costly legal mess. Get a copy of your property survey so you know your exact boundaries before you start marking anything out.
To make sure you don't miss a step, I've put together a quick checklist. Run through this before you break ground.
Essential Retaining Wall Planning Checklist
Use this checklist to ensure you've covered all critical planning stages before starting your build.
| Planning Step | Key Action | Why It's Critical |
|---|---|---|
| Code Compliance | Contact local building department. | Avoids fines, stop-work orders, and ensures safety. |
| Property Survey | Obtain and review your property survey. | Prevents legal disputes with neighbors. |
| Site Assessment | Evaluate slope steepness and soil type. | Determines project complexity and if professional help is needed. |
| Material Selection | Choose appropriate blocks for the wall height. | Ensures the wall has the structural integrity to hold back the earth. |
| Drainage Plan | Plan for gravel backfill and drainage pipe. | Prevents hydrostatic pressure, the #1 cause of wall failure. |
Covering these bases is non-negotiable for a wall that's built to last.
Assess Your Site and Soil Conditions
Now, it’s time to take a good, hard look at your actual project site. How steep is that slope you’re trying to tame? A gentle, rolling hill is a completely different beast than a steep, aggressive bank. The type of soil you have is also a huge factor. Heavy clay soil acts like a sponge, holding a ton of water and putting immense pressure on your wall. Sandy, well-draining soil is much more forgiving.
This quick assessment helps you answer the most important question: can you realistically do this yourself?
- Good for DIY: A wall under four feet on a gentle slope with decent soil drainage.
- Time to Call a Pro: Any wall over four feet, on a steep grade, close to a property line, or built in heavy clay soil.
If your project checks any of those "call a pro" boxes, it's smart to bring in an expert. A great starting point is to look at the work of the best stone and masonry contractors to see what's possible and who does quality work in your area.
The retaining wall block market is a massive USD 5.2 billion industry for a reason—there's a huge variety of professional-grade materials and expertise out there. For bigger or more complex jobs, you might even consider getting builders risk insurance to protect your investment while the work is being done. It's a smart move to manage the financial risks that come with a major project.
Choosing the Best Materials for Your Wall
The material you choose is the single biggest decision you'll make when building a retaining wall. It dictates just about everything—the look, the feel, the difficulty of the build, how much maintenance you’ll be doing down the road, and of course, the budget.
This isn't just about what looks good; it's a structural decision that will ripple through the entire project. Your choice impacts the kind of foundation you need, the tools you'll have to rent or buy, and the skills required to get the job done right. Let's walk through the most common options to find the perfect fit for your yard.
Interlocking Concrete Blocks: The DIY Favorite
Segmental retaining wall (SRW) blocks are, hands down, the most popular choice for DIY projects, and for good reason. These concrete blocks are engineered to fit together perfectly, often with a rear lip that automatically creates the proper setback as you stack them.
This built-in engineering is a game-changer. It makes the construction process so much simpler than working with natural, irregular materials. Because the blocks are uniform in size and weight, stacking and leveling them is predictable. Plus, their versatility is a huge advantage—you can easily create straight walls, sweeping curves, or even integrated stairs.
For any homeowner tackling their first wall, SRW blocks offer the clearest path to a professional-looking result without the steep learning curve.
- Best For: DIY-ers, walls with curves, and projects where you need a clean, consistent appearance.
- Keep in Mind: The look is manufactured, which might not suit every home's aesthetic or a more naturalistic landscape design.
Natural Stone: Timeless but Demanding
There’s really nothing that compares to the timeless, organic beauty of a natural stone wall. Each stone is completely unique in its shape, color, and texture, which creates a structure that looks like it has been part of the landscape for a hundred years. This is the premium choice if you’re aiming for a high-end, custom look.
However, that one-of-a-kind beauty comes with some serious challenges. Building with natural stone is less like stacking blocks and more like assembling a complex, heavy puzzle. It takes a ton of skill, patience, and a good eye to fit irregular stones into a stable, lasting structure. It’s also incredibly physical work.
For many people, the authentic character of a natural stone wall is worth every bit of the extra labor and cost. It connects the structure to its surroundings in a way manufactured products just can't match.
Honestly, this option is best left to experienced masons or a very ambitious DIY-er with a lot of time and a strong back. You can also expect the cost to be substantially higher for both the stone itself and the specialized labor if you hire out the work.
Timber and Poured Concrete: Other Options
While you see them less often in residential backyards, timber and poured concrete are also on the table.
Timber walls, built from pressure-treated wood, can give you a rustic, cabin-style look. They're often a cost-effective solution, especially for shorter walls under four feet. The main drawback? Their lifespan. Even treated wood will eventually give in to rot and insects, typically lasting about 15 to 20 years.
Poured concrete walls offer unmatched strength and durability, making them the standard for large-scale, engineered projects. But the process is complex, involving building heavy forms, pouring wet concrete, and waiting for it to cure. This is almost exclusively a job for professionals and is usually overkill for a typical garden or landscape wall.
Calculating Your Material Needs
Once you’ve settled on a material, it’s time to figure out exactly how much you need to buy. Getting this right from the start saves you from annoying, mid-project trips to the supply yard or, even worse, getting stuck with a pallet of expensive, unused blocks.
Remember, a successful retaining wall is a complete system. Your shopping list is more than just the blocks.
- Wall Blocks: First, calculate the total square footage of the wall's face (Length x Height). Divide that number by the square footage of a single block face. Critically, always add 5-10% extra to account for cuts, breaks, or mistakes.
- Gravel Base: Your trench foundation needs a solid, compacted gravel base that’s at least 4-6 inches deep. Calculate the cubic feet of your trench (Length x Width x Depth) to determine how much base gravel you need.
- Drainage Aggregate: Behind the wall, you'll need a column of clean, angular gravel (like 3/4" crushed stone) that’s at least 12 inches wide. This is crucial for drainage.
- Drainage Pipe & Fabric: Finally, don't forget the perforated drain pipe that will carry water away safely and the landscape fabric to wrap your drainage gravel. The fabric keeps soil out, preventing your drainage system from clogging up over time.
Excavating and Building a Rock-Solid Foundation
Alright, you've got your materials and a solid plan. Now comes the part where you'll really break a sweat. This is the most physically demanding—and structurally critical—part of the whole project. A retaining wall is only as good as the ground it's built on. A weak or poorly prepared base is a recipe for disaster; it will eventually settle, shift, or heave, causing that beautiful wall you worked so hard on to fail.
This stage is all about creating an unshakeable foundation. We’re talking about digging the trench, laying the base gravel, and getting that first course of blocks perfectly level. Seriously, everything that follows depends on getting this part right.
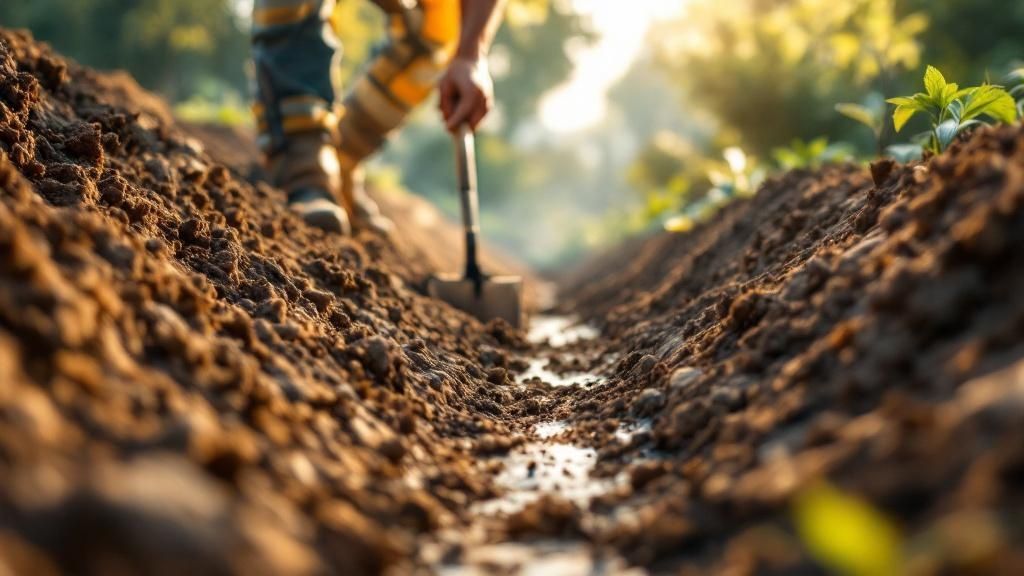
Digging the Trench Correctly
First things first, you need to mark out your wall's location. Grab some stakes and string to create a clear guide. Once you have a visual line, it's time to start digging. The whole point is to create a trench deep and wide enough to support the full weight of the wall and the immense pressure from the soil it's holding back.
A great rule of thumb we use is to dig the trench deep enough to bury about 10% of your wall's total height, plus the depth of your gravel base.
- Example: For a typical 3-foot-tall wall, this means digging down about 10 inches. That depth gives you room for a solid 6-inch gravel base and lets you bury about 4 inches of the first block, anchoring it firmly in the ground.
Width is just as crucial. Your trench needs to be wide enough for the block itself, plus at least 6-8 inches of space behind it for your drainage gravel. This extra room isn't just for drainage; it gives you space to work and make adjustments.
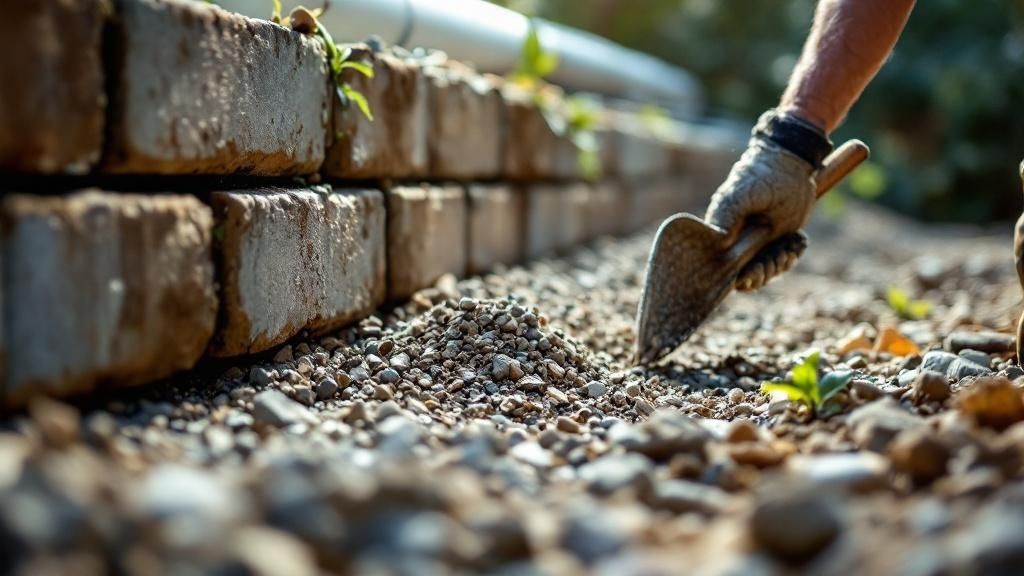
Building the Compacted Gravel Base
With the trench dug, it's time to build the footing. We're not pouring concrete here. Instead, we're creating a base of compacted, angular gravel. This provides a stable, level platform that also lets water drain away freely. Whatever you do, never use rounded pea gravel. The stones will just roll around like marbles and won't lock together to create a solid foundation.
Start by filling the bottom of your trench with a layer of 3/4-inch angular gravel. You're aiming for a depth of at least 4 to 6 inches. Spread it out evenly with a rake, but don't obsess over getting it perfectly level just yet.
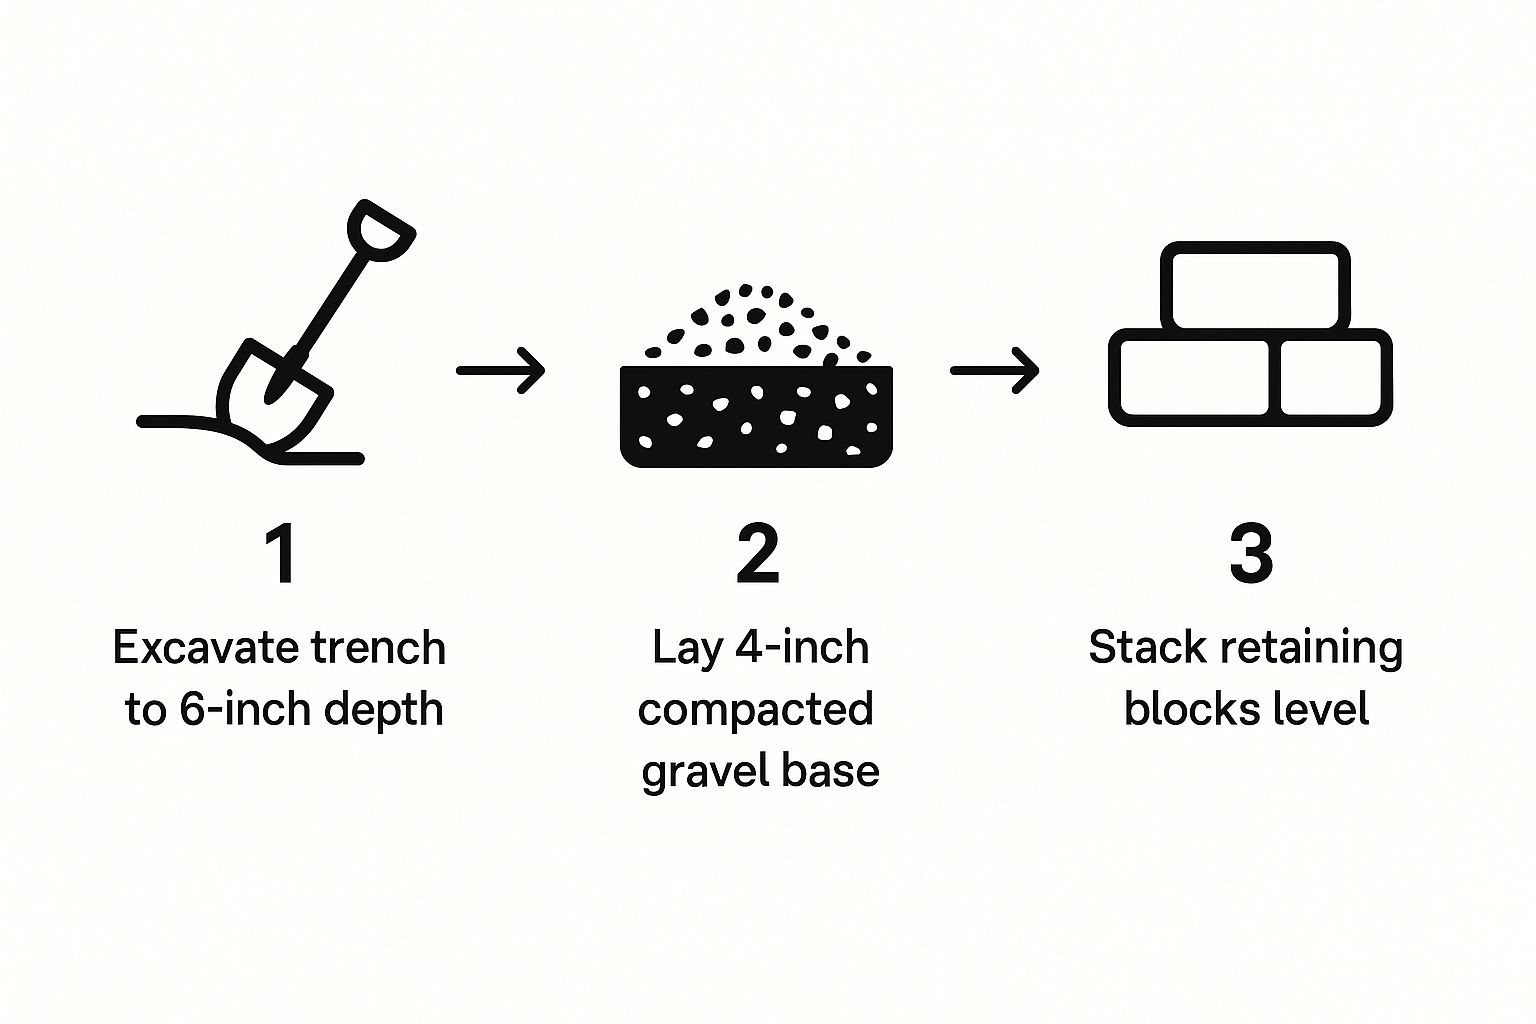
This visual really gets to the heart of it: your wall's success hinges on proper excavation, a solid compacted base, and a perfectly level first course of blocks.
Now comes the step that separates the pros from the amateurs: compaction. Get yourself a hand tamper—that heavy, flat metal plate on a stick—and pound that gravel down until it's locked tight. To do it right, you should compact the gravel in 2-inch "lifts" (or layers). This ensures the entire base becomes dense and solid. When you're done, a properly compacted base should feel as hard as concrete under your feet.
A well-compacted base is the single best insurance policy against future wall failure. Skipping this or doing it half-heartedly will almost certainly lead to settling and an unstable wall down the road.
After compacting, you can fine-tune the level. Add or remove small amounts of gravel until the entire base is perfectly level. Use a long carpenter's level to check it from front to back and side to side along the whole trench. Don't rush this. An extra 30 minutes spent perfecting the base now can save you from a complete rebuild later.
When our team at Tamura Designs builds a wall, a huge chunk of our time is spent on this foundational work. We know from experience it’s the key to a structure that will last for decades. The blocks might get all the attention, but it's the hidden gravel base that does the real work.
Stacking Courses and Mastering Drainage
With a rock-solid, perfectly level foundation in place, you’re ready for the fun part—watching your retaining wall rise from the ground. This is where your structure really takes shape, course by course. The techniques you use here will define not just the look of your wall, but its long-term strength.
There are two things you absolutely have to get right: laying the first course flawlessly and giving water an escape route. Nail these, and you'll build a wall that can handle whatever nature throws at it for decades to come.
Setting the Critical First Course
The first row of blocks is, without a doubt, the most important one you will lay. It's the standard for the entire wall. Every block that follows will align with this initial row, so any imperfection—even a slight tilt or a minor gap—gets magnified as you build higher.
Take your time here. Place the first block on your compacted gravel base and give it a few taps with a rubber mallet to set it. Get your level out and check it from front to back and side to side. Once it's perfect, set the next block right beside it, making sure they touch and are perfectly flush. Level this new block, then grab a long level and check it across both blocks to ensure they’re level with each other. Keep this up for the whole row.
A perfectly level and straight first course is the secret to a professional-looking finish. Rushing this step is a classic mistake that results in a wavy, amateur-looking wall. Seriously, take all the time you need to get this absolutely right.
It might feel tedious, but this painstaking process is the only way to guarantee a straight, stable wall.
Staggering Joints and Building Up
Once that first course is set and perfect, the rest of the stacking process flies by. The main principle now is to stagger the joints, just like a bricklayer. This means the block on the second course should sit centered over the seam between the two blocks below it.
This "running bond" pattern is crucial for structural integrity. It distributes the pressure from the soil across the entire wall system, preventing weak vertical seams from forming. Most segmental retaining wall blocks are designed to make this easy; you can usually just start your second course with a half-block.
As you add each new course, grab a stiff brush and sweep any dirt or gravel off the top of the blocks below. Even a tiny pebble can throw off the next block, creating a high point that messes up your alignment.
The Science of Drainage and Backfill
Now for what I consider the most critical element for your wall’s longevity: drainage. When soil gets saturated with water, it becomes incredibly heavy and exerts immense hydrostatic pressure. This force is the #1 killer of retaining walls, causing them to bulge, crack, and eventually fail. Your job is to give that water an easy way out.
The solution is a dedicated drainage zone right behind your wall. This involves two key parts working together.
- Perforated Drainage Pipe: After your first course is down, lay a 4-inch perforated drain pipe on the gravel behind the blocks. Make sure the holes in the pipe are facing down. This allows it to collect water that seeps into the gravel and channel it away to a safe spot, like a downslope area or a dry well.
- Clean Gravel Backfill: As you build your wall up, you need to backfill the space behind it at the same time. Crucially, the 12 inches directly behind the wall should be filled only with clean, 3/4-inch angular gravel. This creates a super-permeable zone where water can flow straight down to your drain pipe instead of pushing against your wall.
To keep soil from mixing with your gravel and clogging up the system, you have to separate them. Drape landscape fabric over the back of your gravel zone, creating a barrier between it and the native soil you'll use to backfill the rest of the area.
This focus on engineered strength and simple installation is why segmental retaining walls have become so popular. They are a rapidly growing part of the construction market, projected to hit USD 8.64 billion by 2033. Their modular, mortar-free design makes it much easier to build a retaining wall that is both durable and forgiving for DIY installers. You can read more about this trend and its market impact in this detailed industry report.
As you build, work in "lifts." Stack one or two courses of blocks, then backfill with gravel and compact the soil behind it. Repeating this process ensures everything is consistently compacted and prevents putting too much stress on the wall at once.
Backfilling and Finishing Your Wall Like a Pro
You're on the home stretch. This is the part where all your hard work comes together, locking in the wall's strength and giving it that polished, professional look. Getting the backfilling and capstones right is what separates a basic wall from a stunning landscape feature.
Let’s walk through how to finish the job so it lasts a lifetime.
Backfill in Lifts for Rock-Solid Stability
You’ve already been adding drainage gravel as you built the wall. Now it's time to fill in the rest of the space behind that gravel zone with soil. The biggest mistake I see people make is just dumping all the dirt in at once. This creates loose pockets and guarantees the soil will settle later, putting a ton of unexpected pressure on your beautiful new wall.
The right way to do this is by backfilling in “lifts.”
Think of it as building layers. Add about 6 to 8 inches of your native soil behind the fabric-wrapped gravel. Then, grab your hand tamper and compact that layer until it’s firm. Only then should you add the next layer.
It’s a bit like making lasagna. You can’t just throw all the ingredients in the pan and expect it to work. You have to build it layer by layer for it to hold together. Each compacted lift of soil makes the entire structure stronger.
Keep repeating this process—add soil, compact, repeat—until you’re about 4-6 inches from the top. That last bit of space is perfect for a final layer of good topsoil and mulch.
Why That Landscape Fabric Matters So Much
Let's talk about the landscape fabric again for a second. Its job is incredibly simple but absolutely critical: it’s a filter. By wrapping your clean drainage gravel, you create a barrier that stops silt and clay from the surrounding soil from washing in and clogging it up.
A clogged drain is a useless drain. When water can't escape, hydrostatic pressure builds up, and that’s the number one killer of retaining walls.
This one detail is a non-negotiable in modern retaining wall construction. In fact, large-scale systems like Mechanically Stabilized Earth (MSE) walls rely heavily on these geosynthetic fabrics for strength. It's a fast-growing technique, with the market for these advanced walls expected to hit USD 4.2 billion by 2028. You can see just how important this technology has become in this comprehensive market report.
Securing the Capstones for a Perfect Finish
The final construction step is setting the capstones—the flat, finished blocks that sit on top. They don’t just give the wall a clean, finished look; they also tie the top course of blocks together and prevent water from getting down into the block cores.
Before you even think about glue, do a dry run. Lay every single capstone out along the top of the wall. This is your chance to check the fit and make any necessary adjustments. If you have curves, you'll likely need to make small, triangular cuts on the back of the capstones with a masonry saw to get them to sit tightly together.
Once you’re happy with how everything lines up, it's time to lock them in place.
- Clean the Surfaces: Get a brush and sweep off any dust or debris from the top of the wall blocks and the bottom of the capstones.
- Apply Adhesive: Use a high-quality, exterior-grade construction adhesive. Run two thick, continuous beads of it along the top of your wall blocks. Don't be shy with it.
- Set the Caps: Press each capstone down firmly onto the adhesive. Give it a little wiggle to help the adhesive spread out and create a solid bond.
Once that adhesive cures, your wall becomes one solid, unified structure. This final, polished touch can tie your whole landscape together, creating the perfect backdrop for a new patio or garden bed. For some great ideas on how a finished wall can define a space, take a look at our guide on small outdoor kitchen ideas for Morgan Hill homes.
Common Questions About Building Retaining Walls
Even with the best-laid plans, building a retaining wall always seems to drum up a few questions. From digging that first shovel of dirt to placing the final capstone, every part of the process has its own little quirks.
We get calls about this stuff all the time. To help you build with confidence and sidestep some of the usual pitfalls, we’ve put together answers to the questions we hear most often from homeowners.
How High Can I Build a Retaining Wall Without an Engineer?
This is probably the single most important question you can ask before you ever break ground.
As a rule of thumb, most local building codes will require you to get a building permit and plans from a licensed engineer for any retaining wall over four feet tall. That height is measured from the very bottom of the footing, not just what you see above ground. Some cities are even more cautious, dropping that limit to just three feet.
Trying to build a taller wall without professional plans is a huge gamble. These bigger walls have to withstand enormous pressure from the soil behind them and often need special reinforcement, like geogrid fabric. This stuff is far beyond what a typical weekend DIY project can handle.
Ignoring these height limits can lead to catastrophic failure, create a serious safety risk, and get you in hot water with your city. It’s a shortcut that’s just not worth taking.
Think of an engineer's fee as a small investment for the peace of mind that your tall wall is built to last.
What Is the Most Common Mistake When Building a Retaining Wall?
The most frequent—and damaging—mistake we see is inadequate drainage. It’s so easy to get focused on making the blocks look perfect that you completely forget about the critical system that needs to go behind the wall. This is a recipe for disaster.
When water from rain or sprinklers soaks the soil and has nowhere to go, it creates immense hydrostatic pressure. This force is the number one reason walls start to bulge, crack, and eventually fall over. It’s like an invisible giant pushing constantly against all your hard work.
A proper drainage system isn't some fancy add-on; it's absolutely essential. This means a column of clean gravel for backfill and a perforated pipe at the base to carry water away. Don't even think about skipping it.
Do I Need Gravel Behind the Entire Wall?
No, you don’t have to replace all the dirt behind your wall with gravel, but you absolutely must have a dedicated drainage column right behind the blocks. This is non-negotiable if you want the wall to survive.
Here’s how the best practice works:
- The Gravel Column: You’ll want a column of clean, 3/4-inch angular crushed stone that’s at least 12 inches deep, running from the footing almost to the top of the wall.
- Landscape Fabric: It's crucial to wrap this gravel column in high-quality landscape fabric. This acts as a filter, separating the gravel from the native soil and stopping silt from clogging up your drainage.
- Compacted Backfill: Behind that fabric-wrapped gravel, you can use the original soil you dug out. Just be sure to add it back in thin layers (or "lifts") and compact each one firmly.
This layered system gives water a clear path down to your drainpipe while the compacted soil provides the heavy mass needed to support the hillside.
How Much Should a Retaining Wall Lean Back?
That backward lean you see in retaining walls is a deliberate feature called "batter" or "setback," and it’s a game-changer for the wall's strength. By leaning back into the hill, the wall uses gravity to its own advantage, which massively boosts its ability to fight back against soil pressure.
Most modern segmental block systems are designed with a built-in setback. You’ll usually find a small lip or groove on the back of the blocks that automatically forces each new course to step back from the one beneath it.
A good general guideline is a setback of about one inch for every one foot of wall height. But—and this is important—you have to follow the specific instructions from the manufacturer of whatever block system you're using. Their engineers have done the math based on that exact angle, and changing it can compromise the whole structure. This is also a key factor when you're looking into the cost of a retaining wall, as engineered designs can influence the project budget.